Every wonder how foot orthotics are made custom to each person?
The answer is by taking an impression of someone’s foot (or feet in most cases).
Usually people get two foot orthotics, but this is not always the case. Sometimes people do not get two foot orthotics (one for each foot) because they need a special foot orthotic for treatment after a foot fracture, or they just flat out don’t want a pair for money reasons etc. This is atypical though and people usually do go with a pair in our experience and can charge it to their insurance if that is available.
We usually tell people to consider a pair because they will feel more balanced.
Now that we have determined the general reasoning behind one vs two foot orthotics, let’s move forward to the beginning of your first visit with the orthotist. – Then we will proceed to ideas about your second visit and beyond.
Here is the general process:
1.) Impressions of The Feet Are Taken

The impression process does not always need to appear like the foam impression boxes as you see here. It can be done with plaster, or fiberglass or even a scanner. It doesn’t really matter in the end actually, as long as you get a good impression of the foot or feet, preferably in a corrected position.
Some people / salesmen will try and sell you on the idea that their high tech scanner is “the only way to go”. Telling you, it might have all the latest and greatest stuff. If they tell you that their scanner is “THE” way to go, know that this is incorrect. Don’t believe that statement and we would suggest moving on to another provider. The truth is they probably don’t know how to do it any other way and that is why they are saying their scanner is the best. It is not the best, it is just different. We are not trying to sound negative, it is just something to consider since you are going to be the one using the end product. A true expert in the provision of foot orthotics will tell you there are multiple ways to take an impression. Now that has the ring of truth to it!
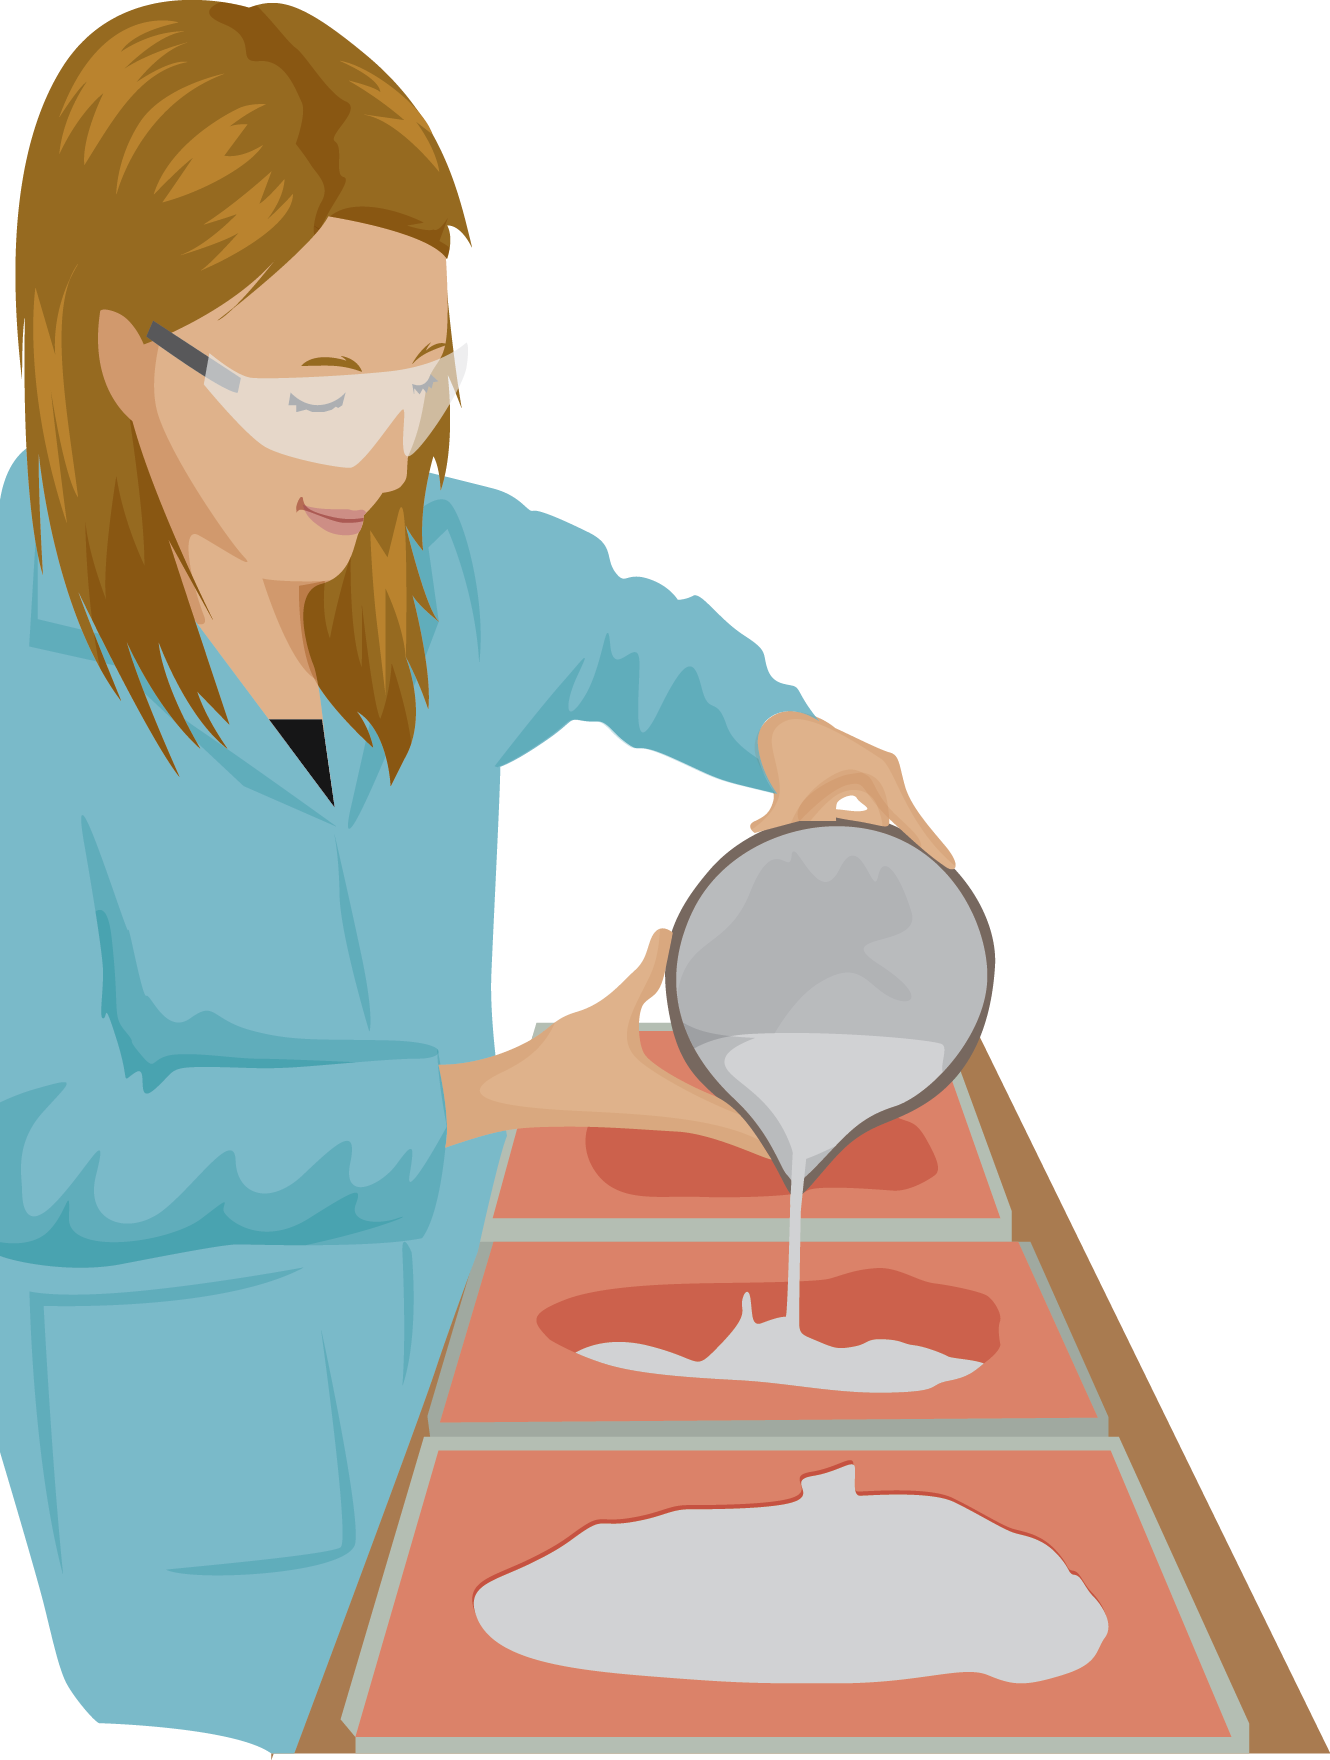
2.) Filling The Impressions
 After the initial custom impression process is completed, then it is time for the next step. At this point the first patient visit has most likely finished with the orthotist or podiatrist (and hopefully not that slick salesman we talked about earlier).
Whether the impression is a foam impression box type (seen in section one), fiberglass or plaster, this “negative impression” of the feet will be then need to be filled with liquid plaster. Liquid plaster has a catalyzing agent that makes it turn from a liquid to a solid when water is added and it is mixed up (kinda cool how that happens).
Sometimes tongue depressors are put into the liquid mold as it is setting up. Three tongue depressors are put in a longitudinal direction so it will be more durable for the next part of the fabrication process once the liquid plaster “sets up” and turns from a liquid to a positive.
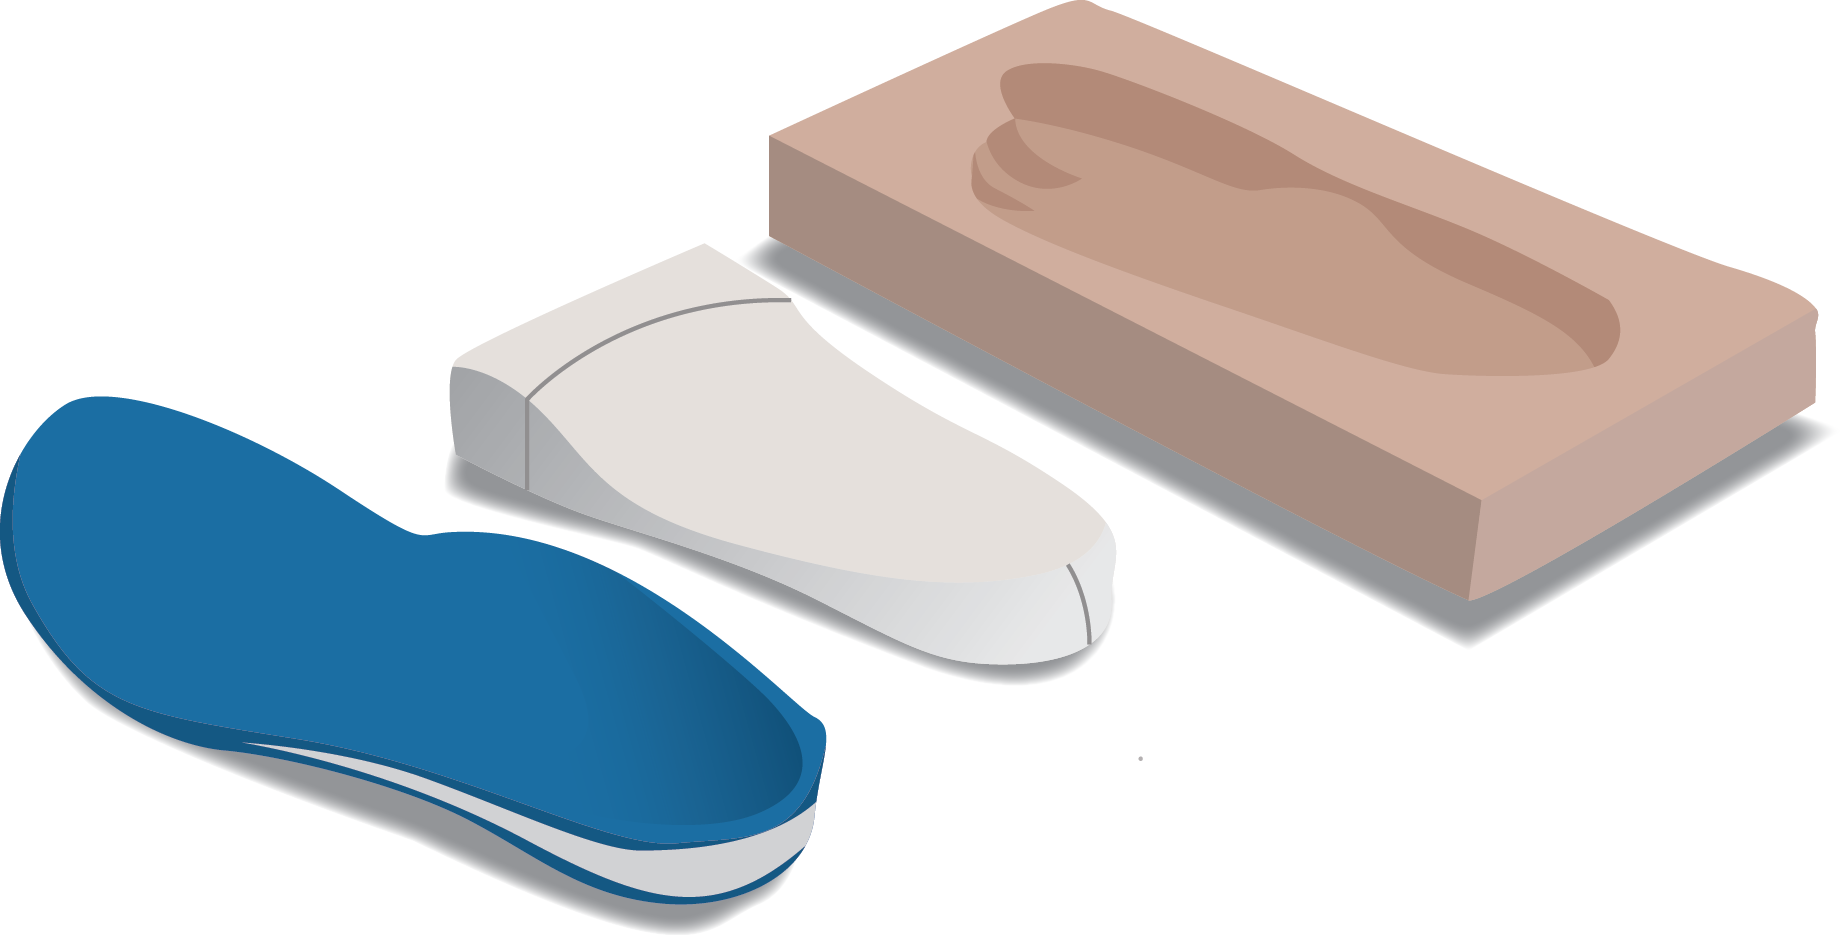
If a scanner is used then the impression will be carved by a “carver” and you will get a positive impression in either circumstance that will look like what we see below.
Either way, it doesn’t matter. You want the effect of the foot orthotics not the positive mold that the liquid plaster or carver produces. So as you can see, they are just different ways of getting you to step number three.
3.) The Positive Foot Orthotic Mold / Impression
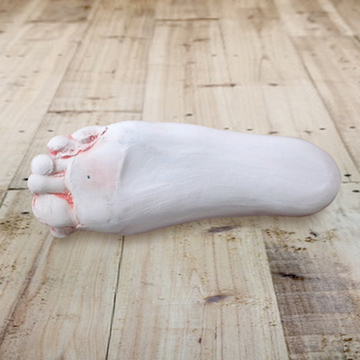
What you are looking at here is the hardened plaster / positive mold that we spoke of earlier in section 2.
You can see that the arch height and width are unique, the forefoot width is unique as well. All toes are accounted for and the heel shape can be described as custom.
From here, there is a “modification stage” where the positive impression can have certain “corrections” made, if needed. More of an arch can be built in, for example. Or, the fabricator working on the mold can add or subtract as needed to help treat your diagnosis as much as possible. This is the third stage and this is where the magic of a trained hand comes in. You can not just do this stuff by yourself without any experience. Everything will go south at this point if a person starts to guess at what they are doing. Hundreds of hours of experience are need to master the art of “modification”. If you don’t believe us, give it a whirl and let us know your thoughts. : )
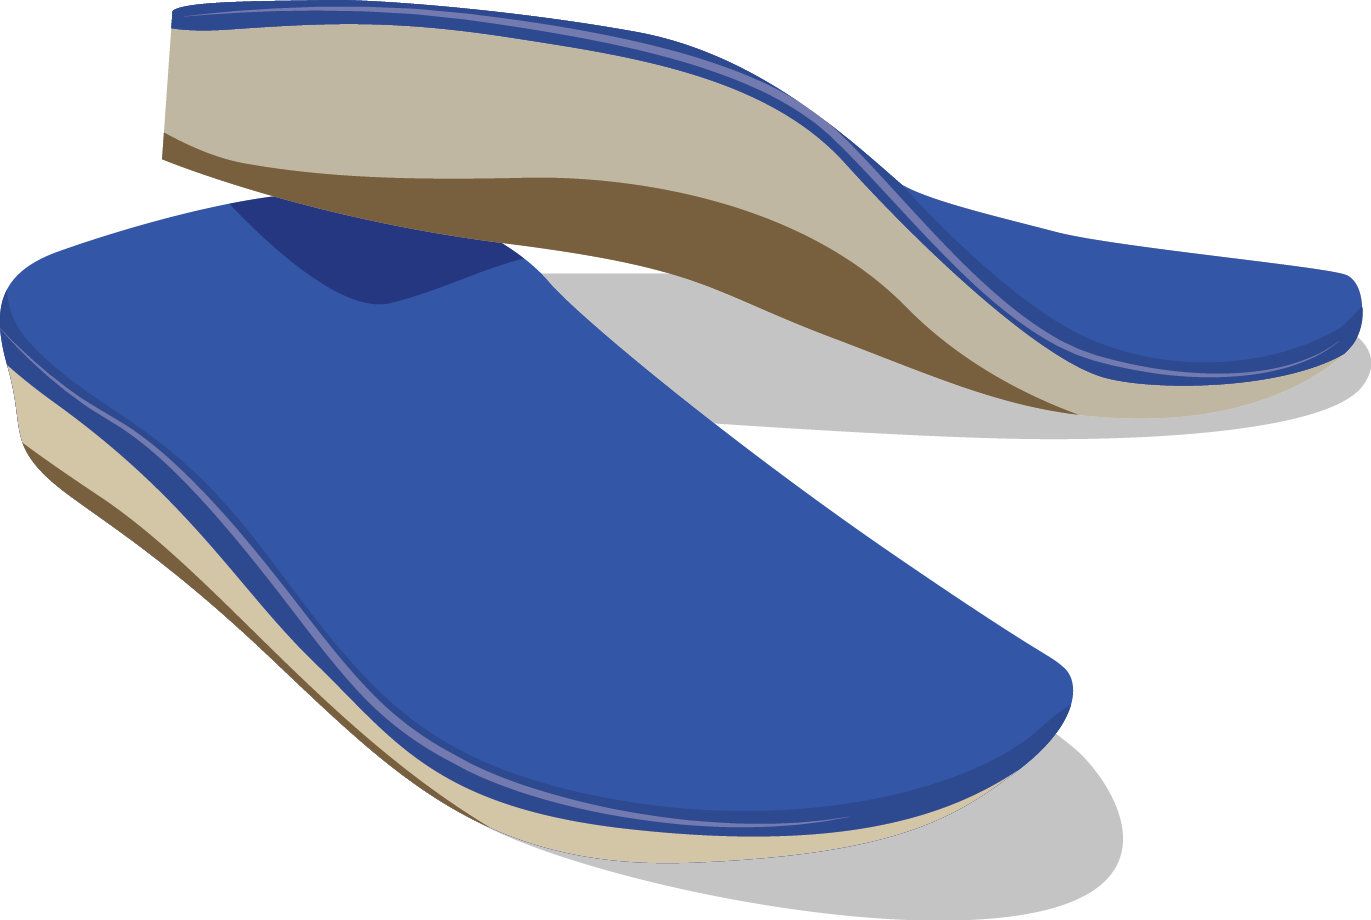
So, just as a recap. We have an impression process, a plaster pouring process and a modification stage. Next you will bring in materials and perform a process to make them custom to the arch, width of the foot etc. This can be referred to as vacuum forming. In the end, you will most likely produce a model like you see below on the left. The end product can be sanded down as necessary and shaped but this is how you come up with the foot orthotics we see below to the left side of the picture.
There are different models / designs for foot orthotics and we will be discussing that in different posts. But, just for a quick recap these three general elements transform the negative mold into a positive mold that is modified and then turned into a custom foot orthotic through a vacuum forming process and with the use of sanders to help treat your foot issue(s).
4.) Your Second Visit With The Orthotist or Podiatrist
At this visit, the orthotist will show you the “tricks” to making sure the foot orthotic will feel the best it can under your foot and in your shoes. They have the expertise to modify the final product as needed in order to suit your tastes. They also can deal with shoe challenges to make the foot orthotic feel better for you, if that becomes an issue.
Why would someone need to modify the end product, if it is custom made, you ask?
Sometimes people can not mentally handle the amount of correction provided to them, even though their foot said otherwise during the casting procedure. Not to worry. Foot orthotics can be altered and again, this is where the trained hand of an orthotist comes into play. You don’t want to do this by yourself, nor do you want the fast talking salesman at xyz foot orthotics company telling you “that’s the way they are supposed to feel, sorry”.
True there is a break in process for some people, but foot orthotics should never hurt you.
After the break in period, which should take a maximum of two weeks, then there is sometimes the need for a follow up visit.
Sometimes, subtle issues might come up and you might not realize it at first. Sometimes things become apparent to you only after you have worn your foot orthotics for a while. This happens on occasion, just know that it is part of the process.
Perhaps you are having issues using them in multiple shoes. Or, you might want part of the cushioning sanded down etc. Or, you might need to have your shoes stretched, or someone might need to show you how to remove the other insole from your shoe to create space. This is where a licensed orthotist comes in.
The orthotist you are seeing should be able to tweak the foot orthotics for you and this final tweak in a follow up visit might be all you need to move forward without issue. There is usually not payment required for a follow up as long as you do it during a company’s warranty period which should usually last 30-90 days. Ask at the time of delivery what the length is for your foot orthotics.
We hope this information has helped you.
Make sure to check out our other posts on foot orthotics as well and our trouble shooting videos in the “common problems / troubleshooting” section for ideas.
Please also remember that this is health information and we can not provide medial advice to you unless we specifically treat you.